Have you ever thought to yourself, “What the heck does the tongue even do to say the R sound?”
ME TOO!
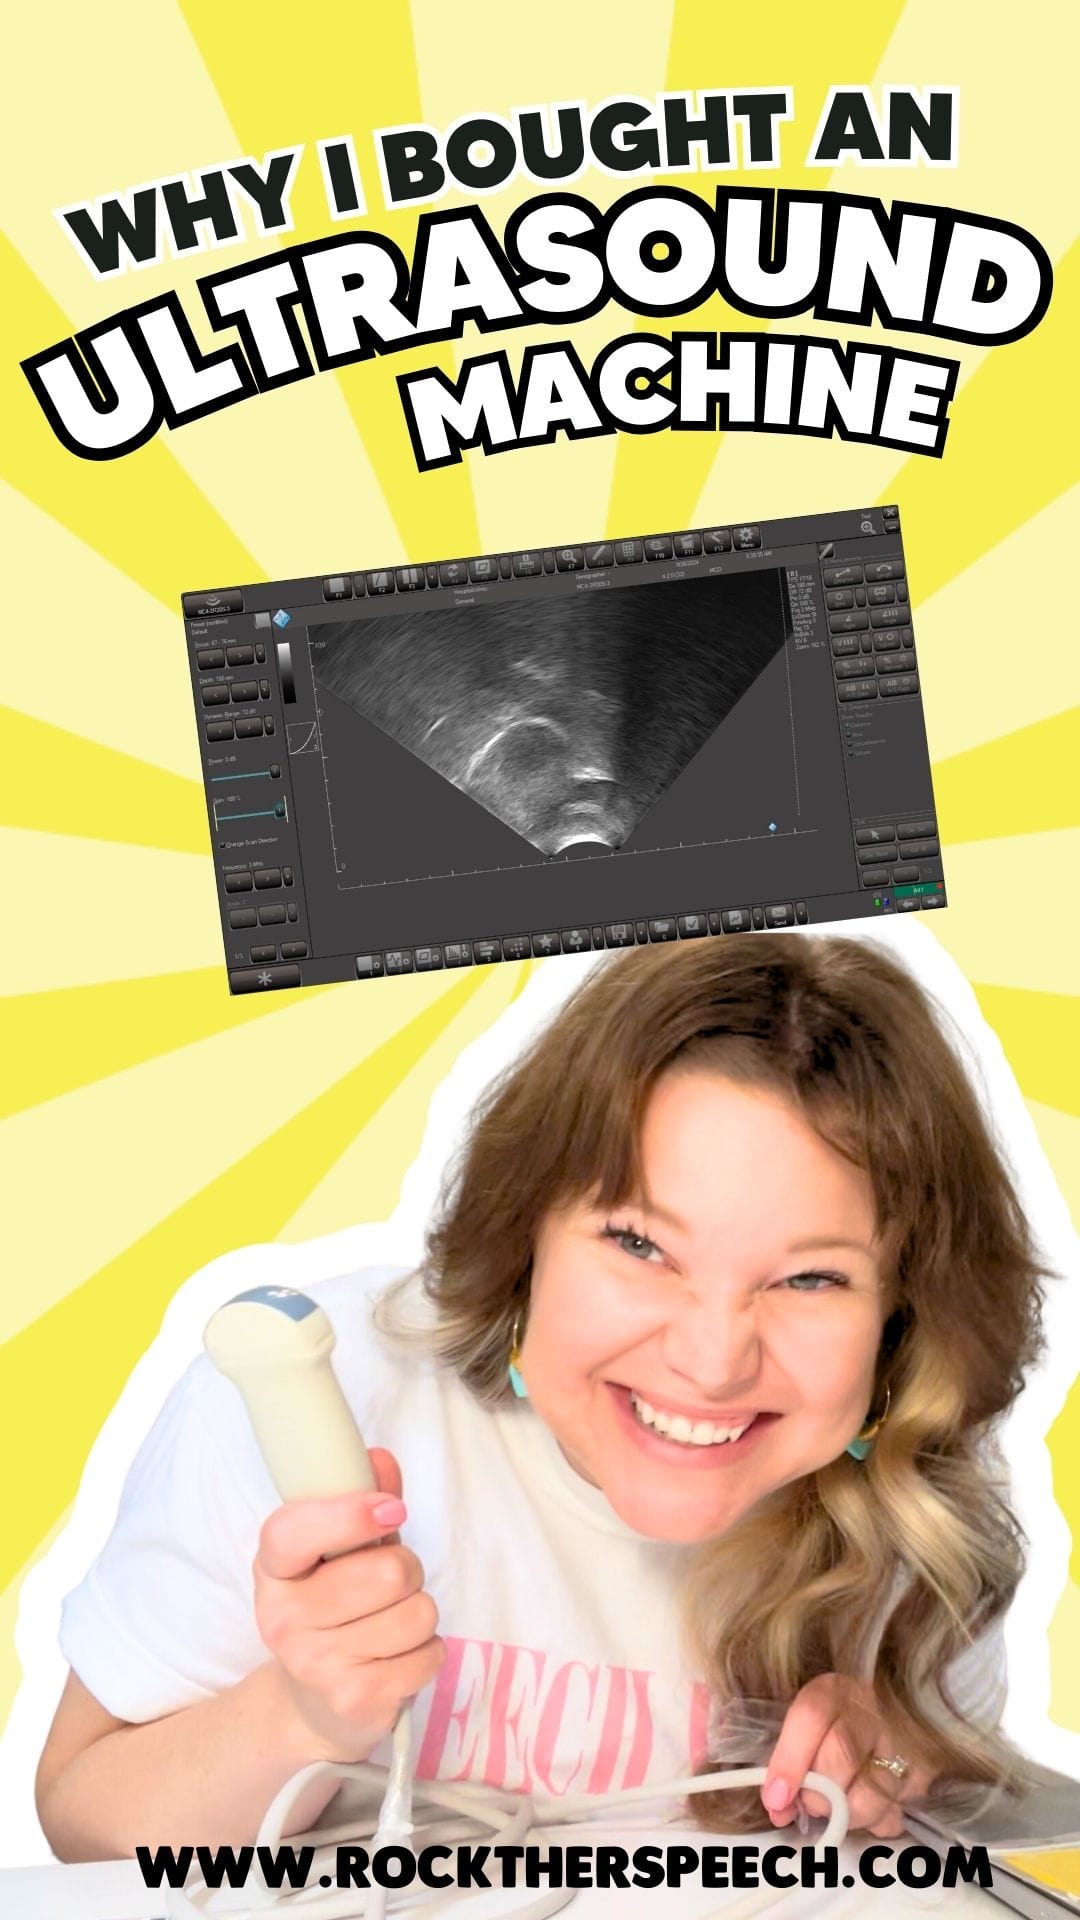
The R sound is one of the trickiest sounds in speech therapy because it requires precise coordination of multiple parts of the mouth—and even multiple parts of the tongue—all at the same time. There’s a video at the end of this post where you can see, via ultrasound, just how intricate we’re talkin’!
In this post, we’ll cover how to say the R sound and break down the five key elements your mouth must achieve to master placement for a correct R. We’re pulling these 5 elements straight from our favorite reading material, Tutorial: Motor-Based Treatment Strategies for /r/ Distortions (2020) if you’d like to check it out. Shoutout to Preston, Benway, Leece, Hitchcock, & McAllister for putting together this easy-to-read article!
Plus, I’ll share one bonus tip I’ve found invaluable in my clinical experience (hint: it involves keeping the jaw in check!).
If you’d rather watch than read, check out the YouTube video below, where I explain these same concepts and share extra therapy tips to help you teach the R sound effectively.
The 5 Essentials for Saying the R Sound
1. The sides of the tongue should go up inside the top molars
To produce a correct R sound, the sides of the tongue need to press against the inside of the top molars. It’s also okay if they touch the gums inside the top molars. I find this to be one of (if not the) hardest parts for students to master. For ideas on cueing for side elevation (aka “lateral bracing”), you can check out our cue database.
2. The tongue needs to retract toward the throat
To create that rich, resonant R sound, the tongue has to pull back slightly toward the throat. There’s a delicate balance to how far back the tongue needs to go. Too far forward, and you get an R distortion. Too far back, and you start to gag. (Kidding! Kind of.)
3. The tip of the tongue needs to lift
For a clear R sound, the tip of the tongue needs to rise. This might look like a “bunched” R (where the tongue tip lifts subtly) or a “retroflex” R (where it curls up and back). Either way, if the tongue tip stays down, you won’t get the sound you’re aiming for.
4. The middle of the tongue should stay down
No “hills” allowed in the middle of the tongue! If the tongue arches here, it can disrupt the airflow and distort the R sound. Really, this makes perfect sense since we need the sides and tip to be up!
5. The lips should round slightly
While subtle, a little lip rounding helps shape the airflow for a clean R sound. Too much rounding, though, and you risk slipping into a W sound. Keep it gentle and controlled for that perfect balance.
Sometimes I’ll describe it as making a rectangle (like this ➡ ▭) with the corners tight but the center of your lips soft. Just try not to ask kids to smile for R! I know this is super common among speech therapists to avoid a /w/ from slipping in, but if they’re confusing R and W, you need to take a look at phonology instead.
Bonus Tip: Keep the jaw slightly open, and focus tension in the back of the tongue
Here’s a game-changer from my clinical experience: Jaw position and tongue tension matter!
If the jaw opens too wide, it throws off the precise coordination needed for a correct R. Keeping the jaw slightly open (not too wide) provides better control.
And when it comes to tension, it should be focused in the back of the tongue, not the throat. If your students sound like Kermit the Frog (adorable, but not the goal), they’re likely tightening their throat muscles instead of engaging the right part of their tongue.
Watch the Video: How to Say the R Sound
Mastering the R sound takes patience and practice, but breaking it down into these five essential elements (plus keeping an eye on jaw and tongue tension) can make a huge difference. Whether you’re a speech therapist or a parent helping at home, these tips will set your students up for success.
Looking for more ideas on how to teach the R sound? Check out my other resources and follow me on Instagram @rocktherspeech for more inspiration! Better yet, dig into our VIP FREEBIE LIBRARY!
Got a tip or trick that works for you? Drop a comment below or tag me on social media. Let’s keep the conversation going and help more students rock their R sounds.
You’ve got this! Rock on, friends!


